Outlook is an incredible tool for your emails, but it can do so much more. In this post, I'm sharing 5 tips for managing your contacts in Outlook, so you can get more bang for your buck with your Microsoft 365 subscription!
1: Accessing the address book in Outlook
Let's go back to the start, and get the basics right!
Firstly, where are the Contacts kept in Outlook?
On the desktop application, you will find contacts in the menu bar at the bottom of your left-hand sidebar (under the list of your mailboxes and folders) - it's the third icon across (and looks like a little person!):

On the web version, it's the third icon on the sidebar again, but this time it's a vertical list of icons. On this version, the icon looks like two people:
![]()
Once you know where the contacts are being stored, it's time to start adding to your address book!
2: Add contacts to your address book from emails
There are two main ways you can add a contact to your Outlook address book - from an email, or create the contact from scratch. Both add the contact to your address book, and allow you to add as much or as little information as you like.
- Right-click a name from the To, Cc, Bcc or From line in the email you have
- Select Add to Outlook Contacts
- Add any additional details you want to record against this particular record
- Select Save & Close
3: Add contacts to your address book from scratch
You might add a contact from scratch if you receive a business card, or have jotted down the details after a call with this contact. It's a great way to avoid having little bits of paper or lists floating around, and possibly getting lost!
- Select People
 , then New Contact
 - Add the details you want to record for this particular record
- Select Save & Close
4: Creating & Using Contact Lists
In Outlook 365, mailing lists or distribution groups are now called Contact Lists (I know, they change the name just to confuse us all, I'm sure!).
Contact Lists are an excellent way to store a collection of email addresses, so that you can send emails to a group of people at once. For example, you could create a contact list called My clients, and add all the email addresses of your clients to the list. When you want to send an email message to all of your clients, you just enter My clients into the TO line of your email, and it will pull all of those email addresses in.
HANDY TIP: When sending emails to groups, put your own email address in the To line, and add the group in the Bcc line. This ensures that there's no issue with people seeing the name for the group, or realising that it's not a personalised email you've sent (in case it might read that way!).
To create a contact group:
- Open up Office365 on the web (www.office.com)
- Click on the menu icon in the top left hand corner (the 9 dots in a square)
- Select All Apps to pop out the full application menu
- Select People (it's about half-way down the list on my menu) - it looks like the two people together, like in the section above about adding a content from scratch
- From the top menu, open the drop down menu where it says New Contact - select New Contact List (the second option in the drop down):

You can now create a new contact list, with a title that makes sense to you. It could be a segment of your client group, your whole client group, or your team.
Add as many of the individual email addresses as you want - when you start typing, you should activate the auto-fill option, with Outlook recognising emails from your contacts and pre-filling the rest of the address.
You can add a description of the group as well if you like.

Once you have entered all the details, click Create.
5: Making your Contacts a 'Point of Truth'
I love using my Contacts in Outlook as my 'point of truth' for all of my clients, colleagues, collaborators and network. Sometimes there are people who aren't on your mailing list, or purchased a product from you, but are important to keep details on.
For me, that's my accountant, leads, and members of my biz buddy squad. I can keep track of their address, website, birthday (if I want to), and any other relevant information in the notes section, so I can access that content from my desktop, laptop or phone via the apps.
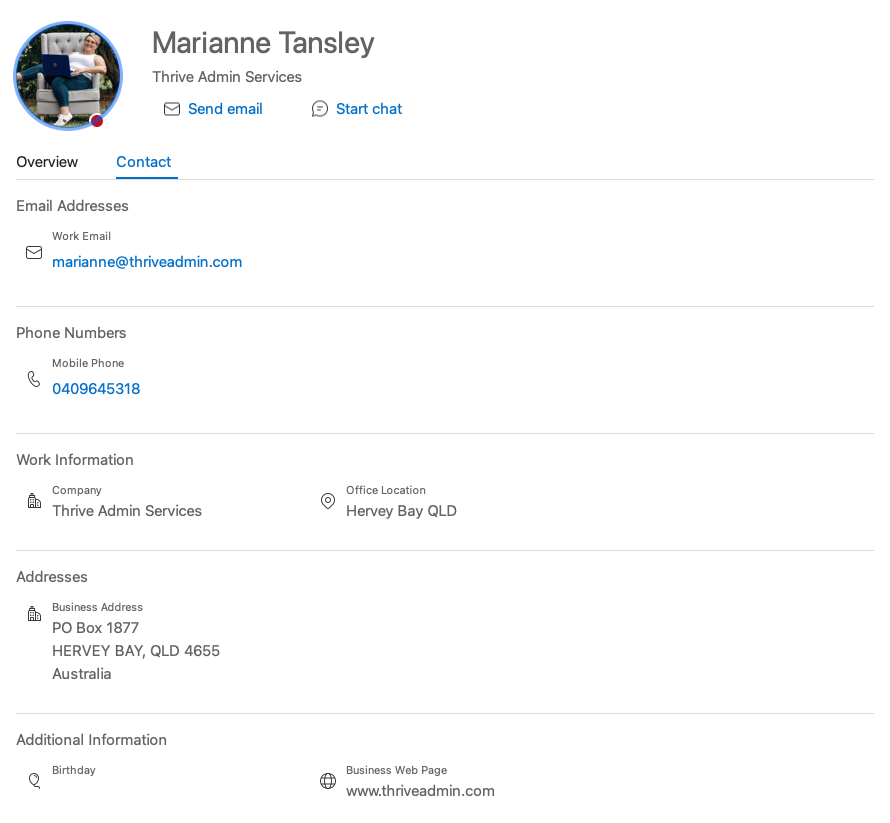
Here's my contact card for myself in my contacts, as an example:

You can add a photo for the contact (or their business logo), so that it comes up in your inbox when they email you. I find this is a really easy way to recognise items I'm trying to find in my inbox!
An Outlook address book is an excellent starting point for a database, particularly if you aren't ready to make the commitment to a particular system yet.
BONUS: you can export contact information from Outlook into a .csv file at any point, so you can upload it into any other system down the track!
Are you going to start using Outlook Contacts?
Outlook contacts are an excellent way to collate all that data you are accumulating on paper, your phone, and in a drawer (I know you have a pile of business cards stashed somewhere!). It might take a little time to catch up, but a great place to start is by simply adding contacts from emails you receive.
Personally, I find setting aside some time for adding content like website addresses and other contact details is like a bit of a circuit-breaker from client work, and the kind of data entry that makes me happy (because it means I can then throw out some of those tatty bits of paper lying around!).
Enjoy this post?
If you enjoyed this post, then let me know! Add a comment here, or get in touch directly - you can email me, or find me hanging out on Facebook, Instagram and LinkedIn (search Thrive Admin Services).
Thrive is a fan of Microsoft 365
Thrive uses Microsoft 365 Business, which includes Word, Excel, Outlook, Sharepoint, Planner and a heap of other awesome apps. If I've worked with you, chances are you've seen some of what I use to run Thrive through 365. It's come a long way from when I first started working with Word and Excel! These days, I have seamless access to all of my work no matter where I am!
If you would like to know more, you should definitely do your own research to see if it's suitable for you. You can compare the Microsoft 365 for business plans here.
**Disclaimer - Thrive is a Microsoft Affiliate, and if you choose to purchase via the above link, I may receive a small commission. You can read Thrive's full affiliate disclosure policy here.
**Disclaimer: all information here is based on working with a Microsoft 365 subscription. If you are working with an older version of Microsoft, some of this information may not be relevant to you. Screenshots provided from the desktop version of Microsoft 365 programs in this post are taken from a Mac, so may appear different for PC users. Wherever possible, links to alternate information sources are provided to ensure all readers have access to content that is appropriate for their situation.


Comments